
Your guide to making the cut!
Mar 05, 2021
Album…got it, paper…got it!
So, now that we have discussed albums and paper you should be feeling pretty comfortable with those supplies. It is time to start talking about some of the tools you’re going to need to start scrapbooking. You will find that like so many other hobbies the tools can range anywhere from the basic, “I probably already have those laying around the house!” all the way up to the, “I don’t know if I can live without *that* fun thing!”
Making the cut!
Let’s talk about making the cut and discuss some basic cutting tools. Hold on to the edge of your seat though, because I will also be throwing in some upgraded fancy, schmancy ones! That being said, basic doesn’t have to mean boring *insert winky face here*.
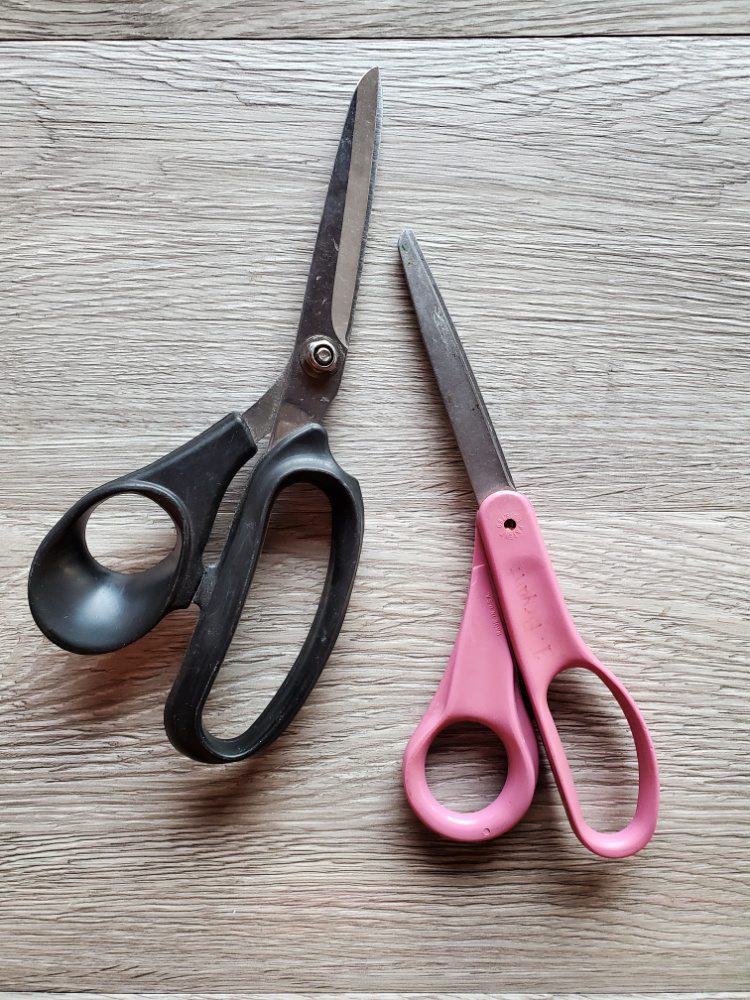
One of the most basic tools you can start your collection with is a good pair of scissors. You probably already even have some of those around the house. A good sharp pair will be your best bet and two would be even better, because if you are anything like me, you’ll misplace the first pair! *big, cheesy grin!*
Let’s get fancy!

Scissors are very basic and useful tools. They come in a variety of fun options too! Just take a look at these guys! These are border edge scissors and they all have different shaped blades. They will cut your paper leaving different shaped edges. Say whuuuut?! These were popular way back when scrapbooking was a new thing! I hung on to mine though and am excited about using them on my pages.

Here is an example of the borders these scissors will leave. Just look at all those crazy edge options! They offer lots of fun possibilities!

These scissors are called fringe edge scissors and they cut several small strips at a time. They are great for making strips of grass or fun borders.

These are another type of scissors that you could add to your collection. These are definitely optional, but if you are planning to incorporate rubber stamping into your scrapbook pages these are really nice to have. They have stubby points and cut red rubber like it is butter. They allow you to easily cut away the excess rubber on a stamp; which gives you a cleaner image when stamping. I promise to go much deeper into stamping details in another post!
A cut above the rest!

Scissors are such great tools, but let’s take it up a notch and chat about paper trimmers next! Straight edged scissors will definitely get the job done, but if you want to upgrade a little bit, you can invest in a paper trimmer. They make the cutting process go much quicker and in most cases will give you a cleaner looking cut. As with most tools these range in price with different options. When looking for a trimmer you want to keep your eyes open for a few features.
It comes with what?!

Although paper trimmers can come with all sorts of fancy bells and whistles, their primary function is simply to cut or trim paper. You can also cut your photos and other thin paper like items with a paper trimmer. A good paper trimmer can last you several years. As you use it more and more though, you will find that the blade will begin to get dull. The cutting blade in most trimmers comes out and can be replaced. You will know when it is time to replace the blade because you will start to get a ragged edge when you make a cut.
Fold it like a pro

In addition to making cuts, you can also use your trimmer to score paper. This requires a different blade; one that has a rounded edge instead of sharp one. Notice above one of the blades is gray, that one is your scoring blade. A scoring blade leaves an indent in your paper rather than making an actual cut all the way through. A score line (or indentation) breaks the paper fibers and allows you to fold your paper without getting those stress marks near your fold. It leaves your fold looking nice and clean and crisp.
Well, that’s a fun thing!

Another fun feature that some paper trimmers have is a swing out arm. This tucks neatly into the trimmer until you need it. It has two main purposes. It allows you to measure and cut larger pieces of paper and helps you to line your paper up against the top edge for an even, straight cut.
Also, notice the numbers and lines all over this big guy? They allow you to measure and line up your paper all over the trimmer. The more marks there are, the more versatile your trimmer is.
That is super handy

Another fun feature that some trimmers have is a lock to keep your cutting arm locked into place when you are not using it. This comes in handy if you plan to travel with your paper trimmer. This particular trimmer even has a built in hole so you can hang it up or attach a book ring to it if you wanted. I own several trimmers, but this one is my go to trimmer! It lives on my scrapping table and stays out all the time. I *heart* it so very much! I can cut 12 x 12 paper with it, score with it and it has oodles of measurements.

Paper trimmers come in lots of different sizes. Here is an example of 3 different sizes. The smallest one on top is ideal for cutting photos or small pieces of paper, the 2 larger ones are better suited to cut your bigger pieces of paper or card stock. These all have marks to measure, guards to line your paper up against for a straight cut and an arm that lifts and lowers to cut your paper, pictures or card stock.

This is another type of paper trimmer and is called a guillotine cutter. This one uses a different type of mechanism to make it’s cuts. Instead of the arm lifting all the way across the cutter at once, the arm on this one is attached on one end and lifts on the other end. It makes it’s cuts by slicing in a downward motion rather than rolling a blade. This is an example of how a guillotine cutter works.
This is an an example of how a trimmer with a drop arm would work.

I have used both and personally prefer the trimmers with the rolling blade. I tend to get a straighter cut with that type. The advantage of a guillotine cutter though is that you can cut many layers at a time rather than just the one or two with the drop arm trimmer.
Paper trimmers are optional for the new scrapbooker, but I would recommend investing in one as soon as you are able! They make cutting so much quicker and easier!
Still more cutting options

These are examples of other cutting tools that are nice to have. They are both exact-o type blades. These can be used to make more exact or precise cuts. One is a finger blade and the other has a stick like handle. They are both easy to work with. I would suggest using a metal ruler with either of these and a lot of extra caution, because they are both quite sharp!

Metal rulers are also a great addition to your tool collection! They come in different sizes and in addition to simple measuring they have lots of other practical uses! They are great for lining up sticker letters or using as a guide to draw straight lines.
Ok, I think that about sums up a few of the more useful cutting options! If you have any questions, or would just like to chat more about all things scissor-y leave a comment or send me an email. I’d love to chat with you!
I will be back soon to discuss more fun scrapbooking tools!
Happy scrapping!


